Cheesy Garlic Slider Buns
Highlighted under: Oven-Baked Delights
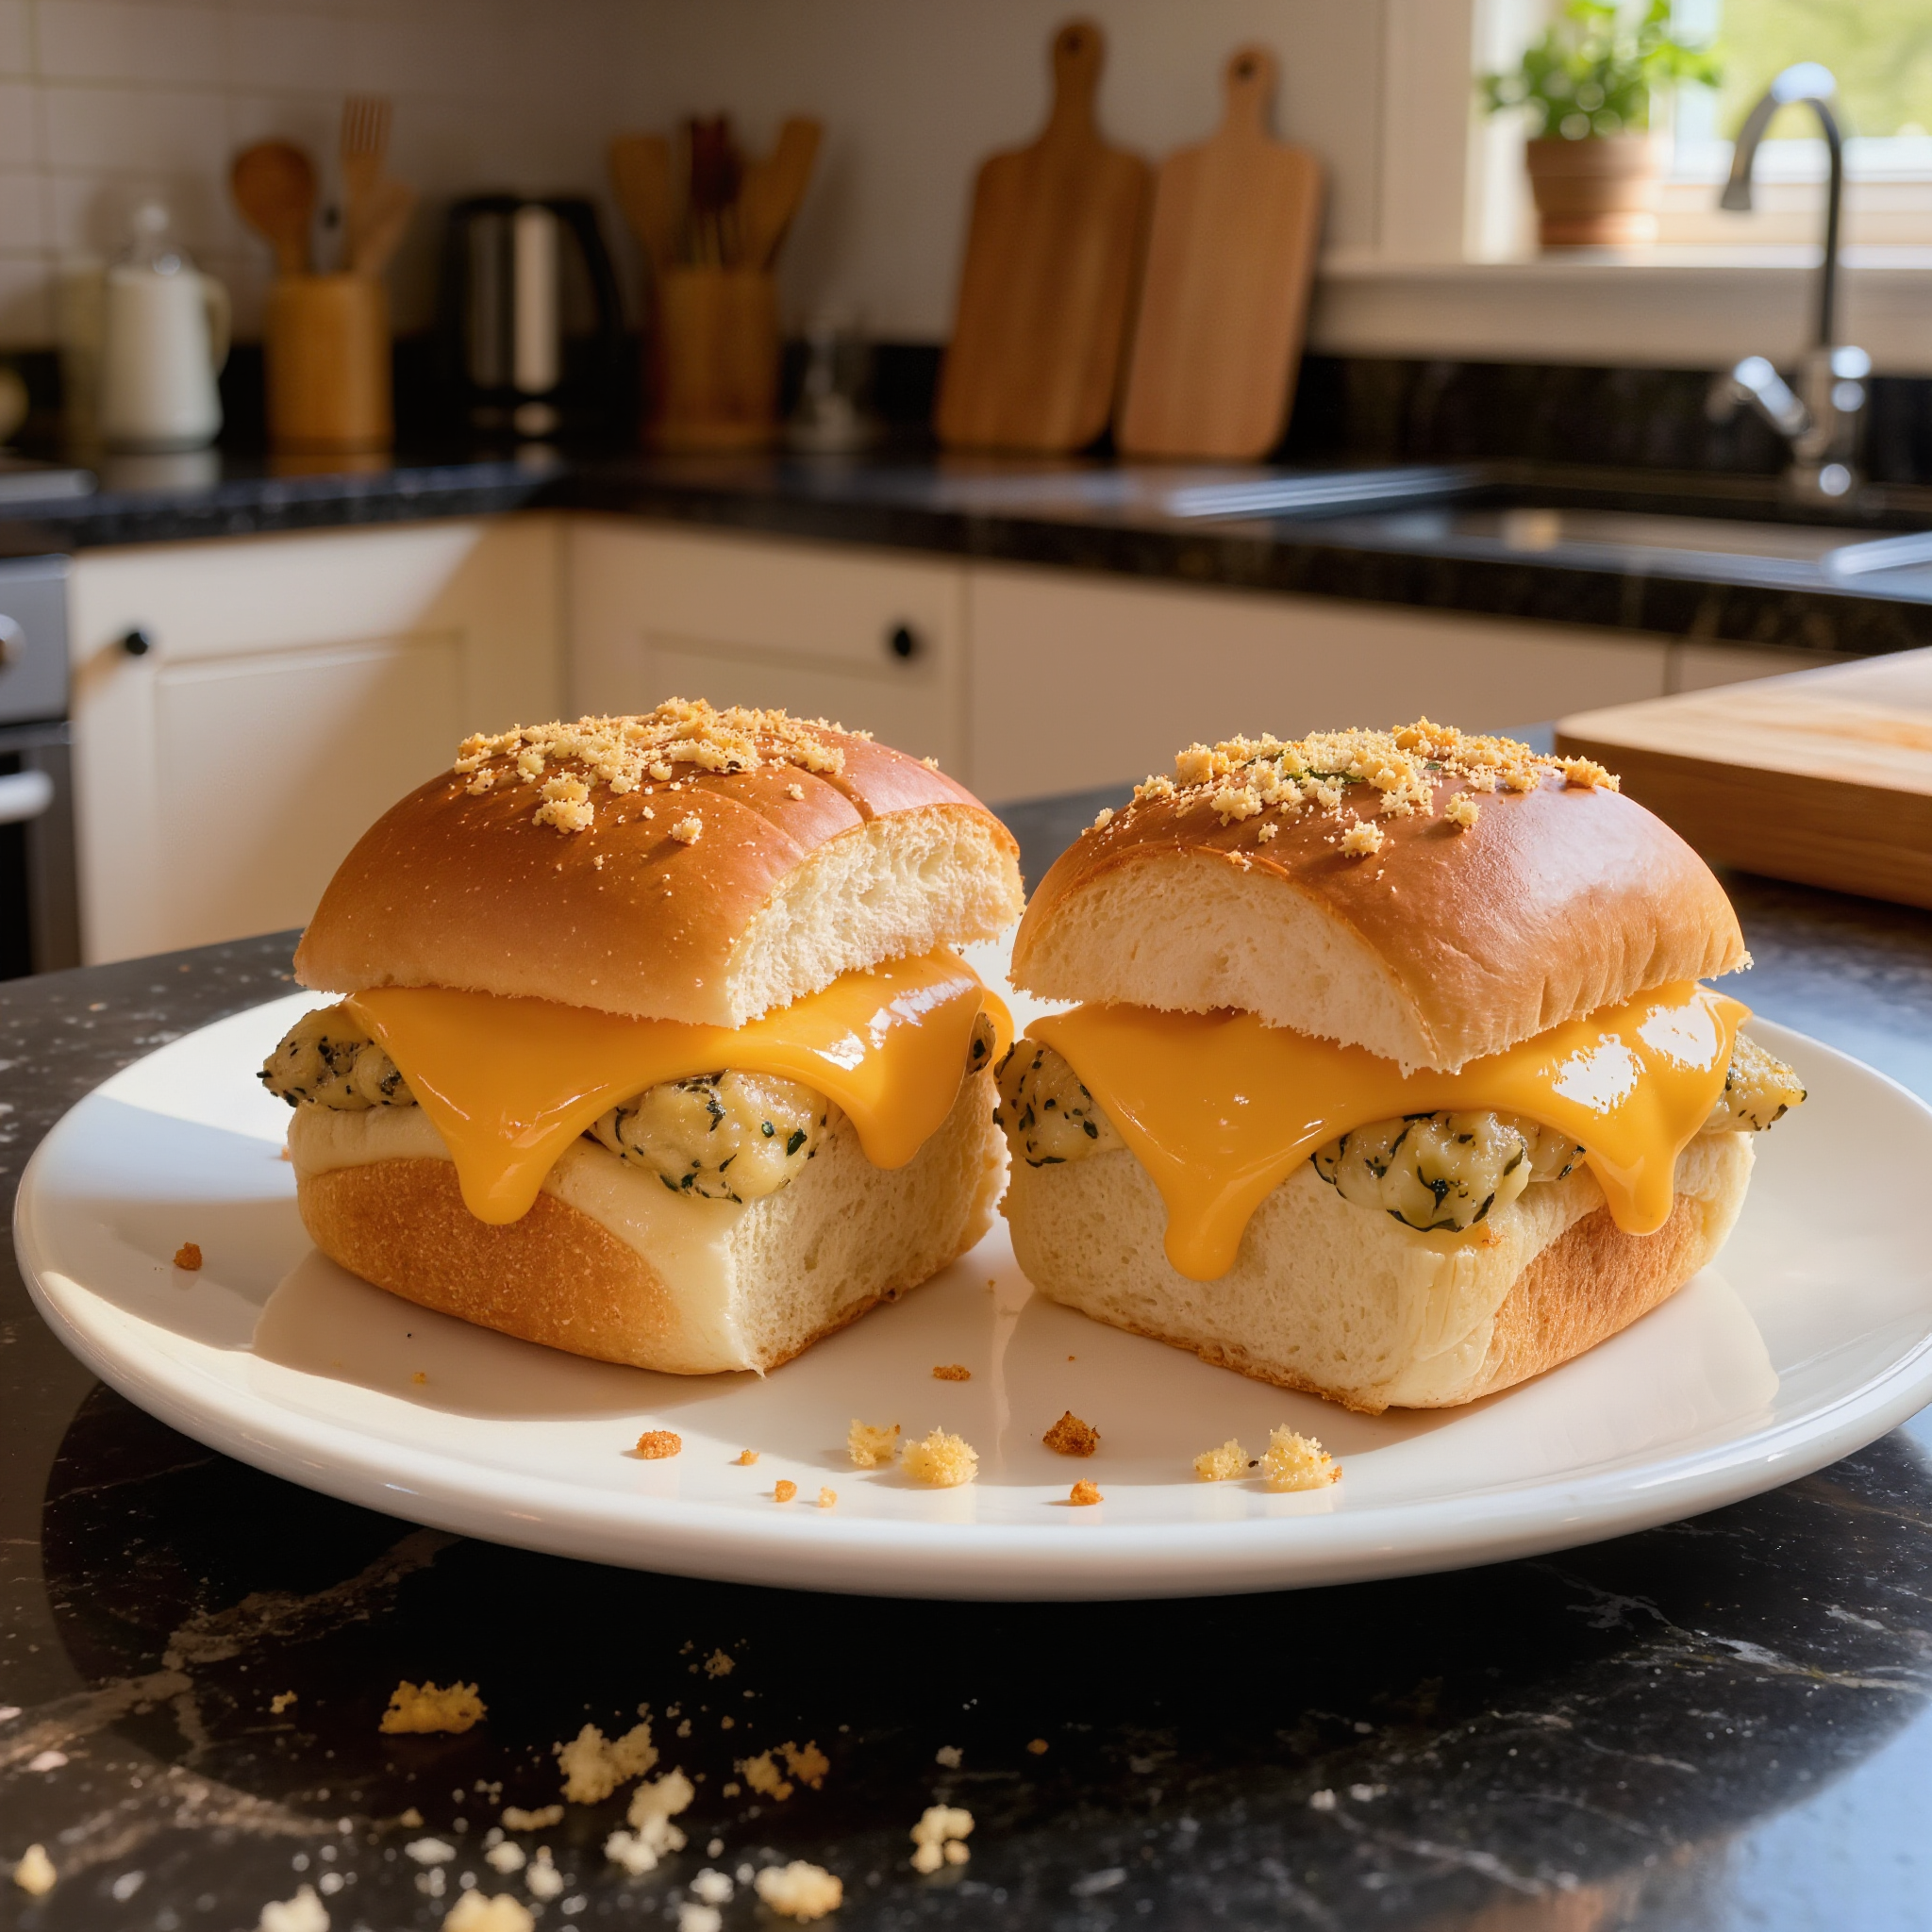
I love creating these Cheesy Garlic Slider Buns for gatherings or simply to enjoy at home. The aroma of garlic and melted cheese wafting through the kitchen is enough to make anyone's mouth water. These buns are perfect for serving alongside soups or as a delicious appetizer. The combination of herbs, garlic, and cheese packed into soft buns makes them irresistible. I guarantee that once you try this recipe, you'll want to make them every week!
Creating these Cheesy Garlic Slider Buns was a delightful experiment. I wanted to infuse the classic slider with a bit more flavor, and my secret ingredient was a mix of fresh herbs and gooey cheese. The first batch was a hit! The buns came out fluffy with a melty cheese center that just takes your tastebuds on a delicious ride. I even experimented with different cheeses in the mix to find the perfect blend.
After a few tweaks to the recipe, I found that allowing the dough to rest helped create a nice texture that held up when baked. I like brushing the buns with a buttery garlic-herb mixture before baking, as it gives them that irresistible golden color and flavor. Trust me, these sliders are perfect for any occasion.
Why You'll Love These Buns
- Buttery garlic flavor that enhances any meal
- Soft and fluffy texture that's perfect for sliders
- An easy recipe that impresses guests every time
Crafting the Perfect Dough
The key to achieving beautifully soft buns lies in properly kneading the dough. After combining your dry ingredients, adding warm water activates the yeast. Be sure to knead for about 5 minutes until the dough is smooth and elastic. This helps to develop gluten, which is essential for the texture of your buns. If the dough feels sticky, sprinkle a bit more flour while kneading; just avoid adding too much so your buns remain soft.
Temperature is crucial when letting the dough rise. Ideally, place the covered bowl in a warm, draft-free environment such as an oven with the light on. If the dough hasn’t doubled in size after 20 minutes, give it an additional 5-10 minutes. A well-risen dough will feel light and airy but still hold its shape when touched.
Cheese Filling Secrets
Using a combination of mozzarella and cheddar creates a delightful balance of flavors and textures. Mozzarella provides that gooey stretch when melted, while cheddar adds a rich, savory taste. If you wish for a bolder flavor, consider mixing in some grated Parmesan or adding a pinch of red pepper flakes for a subtle heat. Just remember to keep your cheese cold until you are ready to fill the buns; this helps achieve the perfect melt during baking.
When preparing the filling, make sure to mix the cheeses with the minced garlic and melted butter thoroughly. This ensures that the garlic flavor permeates each bun, enhancing every bite. For a fresher note, adding chopped green onions or basil could elevate the taste profile. Storing any leftover filling in an airtight container for up to three days allows you to whip up a fresh batch of buns with minimal prep time.
Ingredients
Gather the following ingredients to make your Cheesy Garlic Slider Buns:
Ingredients for Buns
- 2 cups all-purpose flour
- 1 tablespoon instant yeast
- 1 teaspoon sugar
- 1 teaspoon salt
- 1 cup warm water
- 2 tablespoons olive oil
Ingredients for Filling
- 1 cup shredded mozzarella cheese
- 1/2 cup cheddar cheese
- 3 cloves garlic, minced
- 2 tablespoons butter, melted
- 1 tablespoon fresh parsley, chopped
Combine these ingredients for a delicious outcome!
Instructions
Follow these steps to bake the buns:
Prepare the Dough
In a mixing bowl, combine flour, yeast, sugar, and salt. Gradually add warm water and olive oil until a dough forms. Knead for about 5 minutes until smooth.
Let the Dough Rise
Cover the bowl with a damp cloth and let the dough rise in a warm area for 20 minutes, or until doubled in size.
Prepare the Filling
In a separate bowl, mix together mozzarella, cheddar, garlic, parsley, and melted butter.
Form the Buns
Preheat the oven to 375°F (190°C). Punch down the risen dough and divide it into 12 equal pieces. Flatten each piece and place a spoonful of the cheese mixture in the center. Fold and shape into a ball.
Bake the Buns
Place the buns on a baking sheet lined with parchment paper and brush with melted butter. Bake for 20 minutes until golden brown.
Serve Warm
Let the buns cool slightly before serving. Enjoy them warm for the best flavor!
Enjoy your delicious, cheesy garlic slider buns!
Pro Tips
- For an extra kick, try adding red pepper flakes to the cheese mixture. Also, letting the buns cool for a few minutes before serving helps prevent the cheese from spilling out too quickly.
Make-Ahead and Storage Tips
These Cheesy Garlic Slider Buns can be made in advance, making them a perfect choice for parties or meal prep. After shaping the buns, you can place them on the baking sheet, cover with plastic wrap, and refrigerate overnight. Allow them to come to room temperature and rise for about 30 minutes before baking. This way, you can enjoy fresh-baked buns without the fuss on the day of your gathering.
If you have leftovers, store them in an airtight container at room temperature for 2-3 days. For longer storage, consider freezing them. Once baked and cooled completely, place the buns in a freezer bag and freeze for up to three months. To reheat, simply bake from frozen at 350°F (175°C) for about 10-15 minutes until warmed through and slightly crispy.
Serving and Pairing Suggestions
These delicious buns are versatile and can be served in various ways. They’re fantastic on their own but can also be used to complement soups, salads, or even as a base for mini burgers. For a fun twist, try serving them alongside a savory dipping sauce, such as marinara or garlic butter, for a restaurant-quality appetizer experience.
For a potluck or party scenario, consider creating a slider bar. You can prepare a selection of fillings from pulled pork to spicy buffalo chicken, making your Cheesy Garlic Slider Buns the perfect vehicle for endless flavor combinations. This interactive dining experience is sure to be a hit, letting guests customize their sliders just how they like them.
Questions About Recipes
→ Can I make the dough in advance?
Yes! You can prepare the dough, let it rise, and refrigerate it for up to 24 hours before shaping and baking.
→ What other fillings can I use?
Feel free to experiment with different types of cheese, or add ingredients like cooked bacon, sautéed onions, or spinach for variation.
→ Can these buns be frozen?
Absolutely! Freeze baked buns in an airtight container for up to 3 months. Reheat in the oven when ready to serve.
→ How can I make these buns gluten-free?
You can substitute the all-purpose flour with a gluten-free flour blend, but be sure to add a binding agent like xanthan gum if needed.

Cheesy Garlic Slider Buns
Created by: The Flavorsbynoah Team
Recipe Type: Oven-Baked Delights
Skill Level: Beginner
Final Quantity: 12 buns
What You'll Need
Ingredients for Buns
- 2 cups all-purpose flour
- 1 tablespoon instant yeast
- 1 teaspoon sugar
- 1 teaspoon salt
- 1 cup warm water
- 2 tablespoons olive oil
Ingredients for Filling
- 1 cup shredded mozzarella cheese
- 1/2 cup cheddar cheese
- 3 cloves garlic, minced
- 2 tablespoons butter, melted
- 1 tablespoon fresh parsley, chopped
How-To Steps
In a mixing bowl, combine flour, yeast, sugar, and salt. Gradually add warm water and olive oil until a dough forms. Knead for about 5 minutes until smooth.
Cover the bowl with a damp cloth and let the dough rise in a warm area for 20 minutes, or until doubled in size.
In a separate bowl, mix together mozzarella, cheddar, garlic, parsley, and melted butter.
Preheat the oven to 375°F (190°C). Punch down the risen dough and divide it into 12 equal pieces. Flatten each piece and place a spoonful of the cheese mixture in the center. Fold and shape into a ball.
Place the buns on a baking sheet lined with parchment paper and brush with melted butter. Bake for 20 minutes until golden brown.
Let the buns cool slightly before serving. Enjoy them warm for the best flavor!
Extra Tips
- For an extra kick, try adding red pepper flakes to the cheese mixture. Also, letting the buns cool for a few minutes before serving helps prevent the cheese from spilling out too quickly.
Nutritional Breakdown (Per Serving)
- Calories: 210 kcal
- Total Fat: 8g
- Saturated Fat: 5g
- Cholesterol: 20mg
- Sodium: 200mg
- Total Carbohydrates: 29g
- Dietary Fiber: 1g
- Sugars: 1g
- Protein: 6g